
Reading Materials, Stitching, and Finish: The Physical Signals of a Well-Made Product
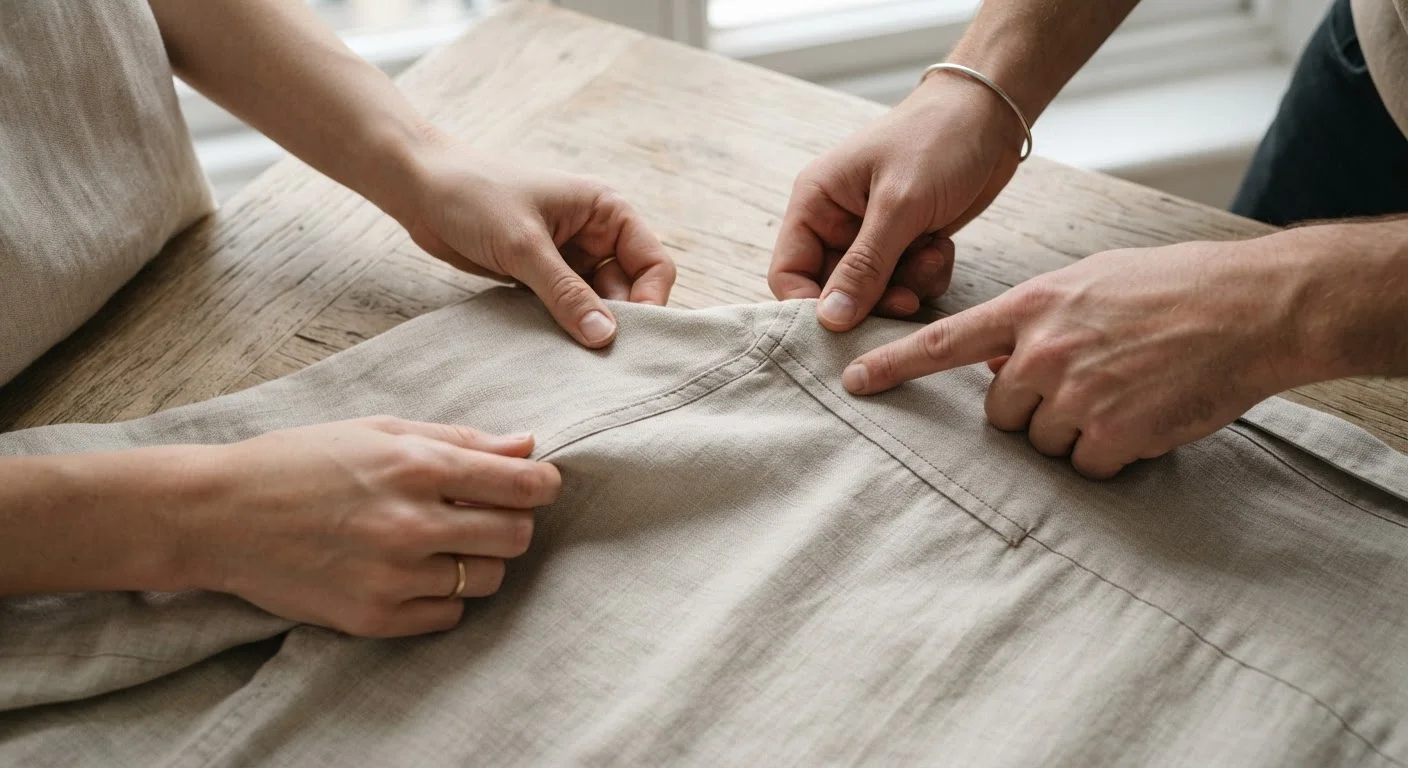
Photo credit: SnippetColumns.com | Easy Search, Reliable Information
In this article
Before you buy, examine how something is built. This guide walks through tactile and visual cues that reveal true construction quality.
Key Takeaways
- Material composition, density, and hand-feel are reliable proxies for durability before any use.
- Stitch count, consistency, and thread tension reveal how a sewn product will hold up over time.
- Surface finish quality — evenness, edge treatment, hardware fit — signals overall manufacturing rigor.
- Price is not a reliable quality indicator on its own; physical inspection is more informative.
- These techniques apply across product categories: apparel, bags, upholstered goods, and small manufactured items.
Why Physical Signals Matter More Than Price or Packaging
Most product marketing communicates through abstract claims: "premium," "durable," "handcrafted." None of these terms are regulated or standardized, which means they carry no guaranteed meaning. The only reliable way to evaluate construction quality is through direct, systematic inspection of the physical object itself.
This matters because manufacturing quality and retail price have a weaker correlation than most shoppers assume. A product's cost reflects supply chain decisions, brand positioning, retail margins, and advertising spend — not just material and labor quality. Two garments at very different price points may use equivalent fabric and stitching; alternatively, an expensive item may have inferior construction hidden behind premium packaging.
The inspection process below applies broadly across sewn goods (apparel, bags, upholstered items) and manufactured hard goods. It takes fewer than 20 minutes once the habit is established. For a broader framework that incorporates reviews, warranties, and seller credibility alongside physical signals, see Building Your Own Quality Evaluation Framework as a Shopper.
Price Does Not Equal Quality
Higher price points do not guarantee superior construction. Marketing, brand positioning, and retail markups all inflate cost independently of materials or craftsmanship. Apply these physical inspection steps regardless of what a product costs or what its label claims.
Before beginning, gather any simple tools that help you inspect more precisely.
Your hands
Tactile evaluation of material weight, texture, flexibility, and surface consistency.
A small flashlight or phone torch
Illuminate seam interiors, hardware gaps, and surface finish irregularities in low-light retail environments.
Reading glasses or magnifier
Examine fine stitch detail and surface texture closely without eyestrain.
What to Do Before You Start Inspecting
Effective quality inspection is systematic, not reactive. Shoppers who check items only when something looks obviously wrong miss the subtler signals that predict long-term performance. The steps below follow a logical sequence: start with the material itself, move to construction, then finish, and finally cross-reference with label information.
What you will need
If you are evaluating a product you cannot physically handle, the methodology changes significantly. Our online shopper's quality framework covers how to extract the same signals from photos, specifications, and seller data.
Don't Rely Solely on Online Photos
Product photography is edited and styled to conceal weak stitching, thin materials, and uneven finishes. When possible, inspect in person. If you must buy online, cross-reference customer photos and detailed reviews before purchasing. See our online quality evaluation framework for strategies when in-person inspection isn't an option.
Running the Inspection: Step-by-Step
Work through each step in sequence. Resist the temptation to jump to hardware or labels before you have assessed the underlying material — surface details mean less if the base construction is weak.
Assess the material's weight and density
Pick up or hold the product and notice its weight relative to its size. Denser, heavier materials in fabric goods — wovens, knits, canvas — generally indicate tighter construction and longer fiber staple length, both of which contribute to durability. In hard goods, heft often signals solid rather than hollow or thin-walled construction.
Run your fingers across both sides of any fabric. A tight weave resists snags and maintains shape after repeated washing. If you can see light through a fabric held up to a window, it is significantly thin for its category. For a plain-language breakdown of how fiber type affects durability, cross-reference the material composition on the label.
Examine stitch density and consistency
On any sewn product, locate a visible seam and count stitches per inch. Industry guidelines for quality apparel generally fall in the range of 8–12 stitches per inch on structural seams; fewer stitches per inch means each stitch carries more load and the seam is more likely to fail under stress. Upholstered goods and bags may use heavier thread at lower counts, which is appropriate for those materials.
Look for consistent stitch spacing along the entire seam length — no skipped stitches, no clusters, no diverging lines. Irregular stitching indicates machinery issues or insufficient quality control at production.
Inspect thread tension and seam finish
Flip the product over and examine the interior seam finish. On garments, a serged (overlocked) edge, bound seam, or flat-felled seam indicates a manufacturer investing in longevity. A raw, unfinished edge will fray with washing and wear. On bags and upholstered goods, look for clean edge binding or turned-and-stitched construction.
Check thread tension: if stitching puckers the fabric, pulls it sideways, or creates visible loops on either side, the machine tension was off during production — a sign of inconsistent quality control. These issues compound over time. Learn more about how seam and finish consistency signals manufacturing quality.
Evaluate surface finish and hardware fit
Surface finish is among the most honest quality signals available. On hard goods and hardware — zippers, clasps, buttons, rivets, hinges — check for consistent plating or coating with no bubbling, peeling edges, or bare metal showing through. Wobble any hardware gently: it should feel anchored, not loose in its mount.
On painted or lacquered surfaces, look at corners and edges where finish is thinnest. Chipping, uneven coverage, or visible brush marks at edges indicate rushed production. On leather or faux-leather goods, check that seams lie flat and surface texture is consistent — not glossy in some areas and matte in others, which can indicate inconsistent coating application.
Check label disclosures and cross-reference your findings
Once your physical inspection is complete, read the material composition and care labels. What you felt in your hands should align with what the label states. If a fabric feels like polyester but the label says 100% cotton, that is a significant red flag — either mislabeling or blending not reflected in the disclosure. Both undermine trust in the product and its manufacturer.
Decoding product labels can surface additional quality signals beyond fiber content: certifications, country of origin, and care instructions all carry information. Combined with your physical inspection, this cross-check gives you a more complete picture than either source alone.
Build a Repeatable Inspection Habit
Run through these checks in the same sequence every time. Consistency makes it faster and less likely you'll overlook a red flag under the pressure of a store environment or a purchase deadline. For a printable reference, see the pre-purchase quality checklist.
After completing your inspection, you will have concrete, observable data about the product's construction — independent of its price tag, its packaging, or how confidently it was displayed on a shelf. That information is yours to weigh against cost, warranty terms, and your intended use. For additional context on how warranty and return policy terms can function as a manufacturer's own quality signal, see Warranties, Return Policies, and Guarantees as Indicators of Manufacturer Confidence.

Author
Smart Shopping Editorial Team
Smart Shopping Editorial Team is the collective byline for our editorial team and contributor network. Articles published under this byline or an editorial pen name are researched, written, and reviewed according to our editorial standards for clarity, consistency, and independence before publication.
View all articles →