
Smartphone Photography Without a Photography Course
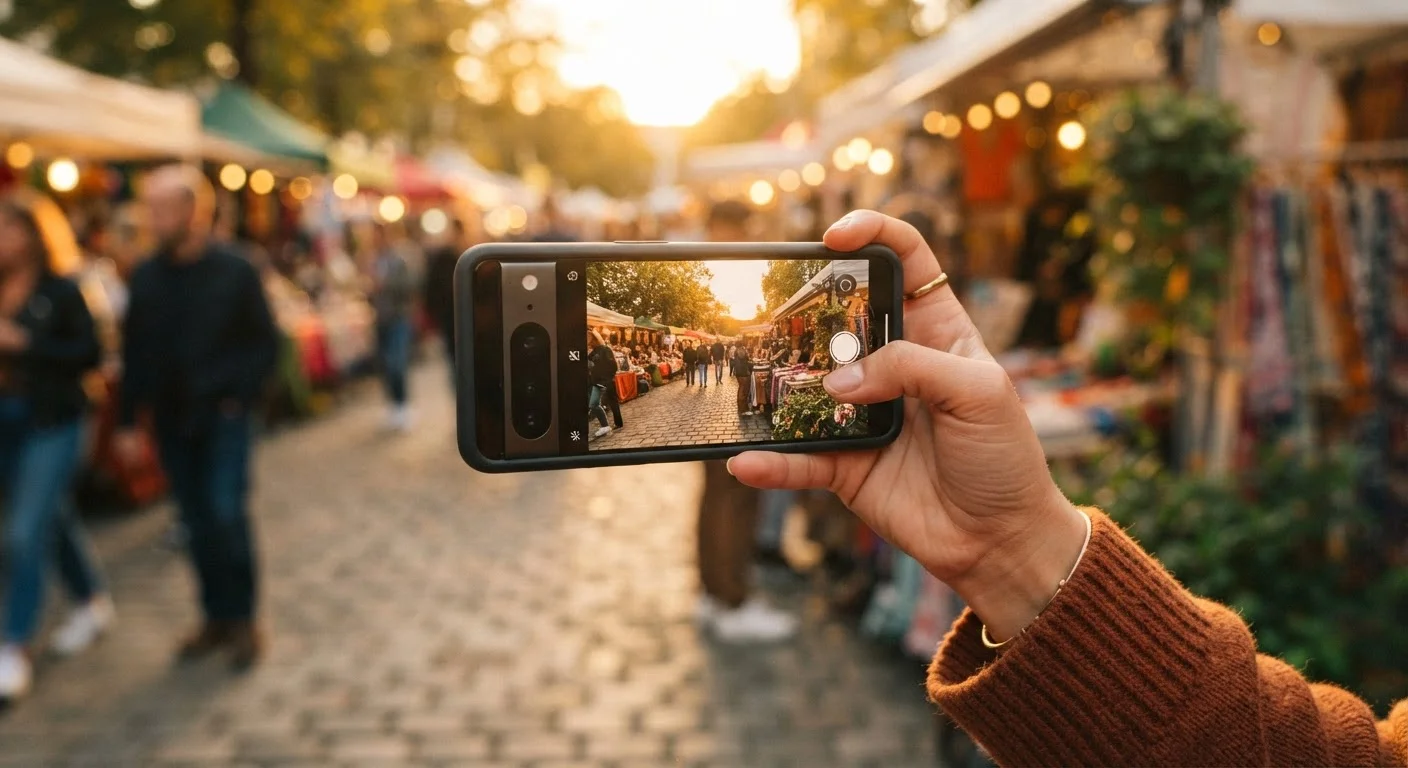
Photo credit: SnippetColumns.com | Easy Search, Reliable Information
In this article
No photography background needed. This guide covers framing, lighting, focus lock, and lesser-known camera modes hiding in plain sight.
Key Takeaways
- Most phone cameras are underused because of habits, not hardware limitations.
- Framing with the rule of thirds costs nothing and immediately improves shots.
- Natural sidelight almost always outperforms a phone's built-in flash.
- Tap-to-focus is just the start — press and hold to lock focus and exposure separately.
- Modes like Pro, Histogram, and Night often sit unused in the default camera app.
Why Your Phone Camera Underperforms (And It's Not the Hardware)
Most people tap the shutter button and hope for the best. That one habit — passive shooting — accounts for the majority of blurry, dark, or poorly composed photos, regardless of which phone someone owns. As tech you already own but underuse goes, the camera app is one of the biggest offenders.
Modern smartphone cameras handle an enormous amount of processing automatically. But automatic doesn't mean optimal. The camera is guessing at what you want — and it often guesses based on the center of the frame, the brightest light source, or the nearest object. A little deliberate input changes the results dramatically.
Rule of thirds
A composition guideline that divides the frame into a 3×3 grid. Placing subjects near the grid's intersection points — rather than dead center — tends to produce more visually engaging images.
AE/AF Lock
Auto Exposure and Auto Focus Lock. Pressing and holding on the screen fixes both the focus point and brightness setting so the camera doesn't re-adjust when you reframe the shot.
ISO
A measure of how sensitive a camera sensor is to light. Higher ISO brightens shots in dim conditions but introduces visible grain or 'noise' into the image.
RAW format
An unprocessed image file that retains all the data the sensor captured. It offers more flexibility when editing but requires specific software to open and produces larger file sizes.
Optical zoom
Zooming achieved by a dedicated telephoto lens on the phone, which maintains image sharpness. Different from digital zoom, which simply crops and enlarges the existing image, reducing quality.
Histogram
A graph showing the distribution of light and dark tones in a photo. Peaks pushed to the far right indicate overexposure; peaks pushed to the far left indicate underexposure.
Framing: The One Skill That Changes Everything
The rule of thirds is photography's most practical composition guideline. Mentally divide your frame into a 3×3 grid — most camera apps can display this grid overlay in settings. Place your subject near one of the four intersection points rather than dead center. This creates natural visual tension and makes images feel more dynamic.
Two other framing habits worth building:
- Get closer. Most people stand too far back. Physically moving closer (rather than zooming in) keeps detail sharp and eliminates distracting background clutter.
- Change your angle. Shooting from eye level is the default, not the best option. Crouching low or raising the phone overhead can make an ordinary scene look intentional.
For anyone interested in how angle and coverage translate to other contexts, the same principles apply when thinking about smart home camera placement.
Turn On the Grid Overlay
Almost every smartphone camera app has a grid overlay option buried in settings — look for 'Grid,' 'Guidelines,' or 'Shooting grid.' Enabling it gives you a visual reference for the rule of thirds every time you open the camera. It takes about 30 seconds to turn on and costs nothing.
Lighting Basics That Actually Matter
Light direction matters more than light quantity. Side lighting — where the light source hits your subject from the left or right — adds depth and texture. Front lighting (light source behind you) is flat but even. Backlight (light source behind the subject) is the hardest to manage and the most common cause of silhouetted faces.
The built-in flash is one of the least flattering tools on any phone. It fires directly at the subject, flattening features and creating harsh shadows. Natural window light or an open doorway almost always produces a better result indoors. If you must use a flash, look for a Torch or Flashlight mode you can keep on continuously — it gives you more control than the burst flash.
Avoid Zooming With the Flash On
Using the flash while digitally zoomed significantly degrades image quality — the sensor crops an already lower-quality portion of the image, and the flash illuminates from a fixed point regardless of zoom level. If you need to use a flash, shoot at the widest field of view and crop afterward during editing.
Focus Lock, Exposure Lock, and Why You Should Use Both
Tapping the screen tells your camera where to focus. But pressing and holding on the same spot does something more useful: it locks focus and exposure independently of where you move the camera next. This is called AE/AF Lock (Auto Exposure / Auto Focus Lock) on most devices.
Why does it matter? If you're photographing a person standing near a bright window, tapping their face locks the camera to expose for skin tones — preventing the background from washing out the subject. You can then reframe slightly without the camera re-adjusting and guessing again.
On many Android devices, a separate slider appears after you tap — dragging it up or down manually brightens or darkens the shot before you take it. On iPhones, a sun icon slider appears alongside the focus box. Both give you exposure control without entering any special mode.
Hidden Camera Modes Worth Exploring
The default Photo mode is not the only option — and for many situations, it's not even the right one. Here are modes that sit unused on most phones:
- Pro / Manual mode: Found on many Android camera apps, this lets you set shutter speed, ISO (sensor sensitivity to light), and white balance yourself. Useful in tricky lighting.
- Night mode: Available on most phones made in recent years, it takes a series of rapid exposures and combines them. It works best when you hold the phone still — or brace it against something.
- RAW capture: Some phones allow saving images in RAW format, which retains far more data for editing later. It requires compatible software to view the files.
- Histogram display: A few camera apps show a histogram — a graph of light distribution across the frame. A spike hard against either edge means the photo is over- or underexposed.
Exploring what's already in your phone is consistent with the broader principle that more megapixels or newer hardware doesn't automatically mean better photos. The software tools already available in your camera app are often more impactful than any hardware upgrade. And if you're curious about other underused features across your devices, there's likely more sitting idle on your current tech than you'd expect.
Frequently Asked Questions

Author
Tech & Gadgets Editorial Team
Tech & Gadgets Editorial Team is the collective byline for our editorial team and contributor network. Articles published under this byline or an editorial pen name are researched, written, and reviewed according to our editorial standards for clarity, consistency, and independence before publication.
View all articles →