
Smart Home Security Cameras: Placement, Angles, and Coverage That Actually Work
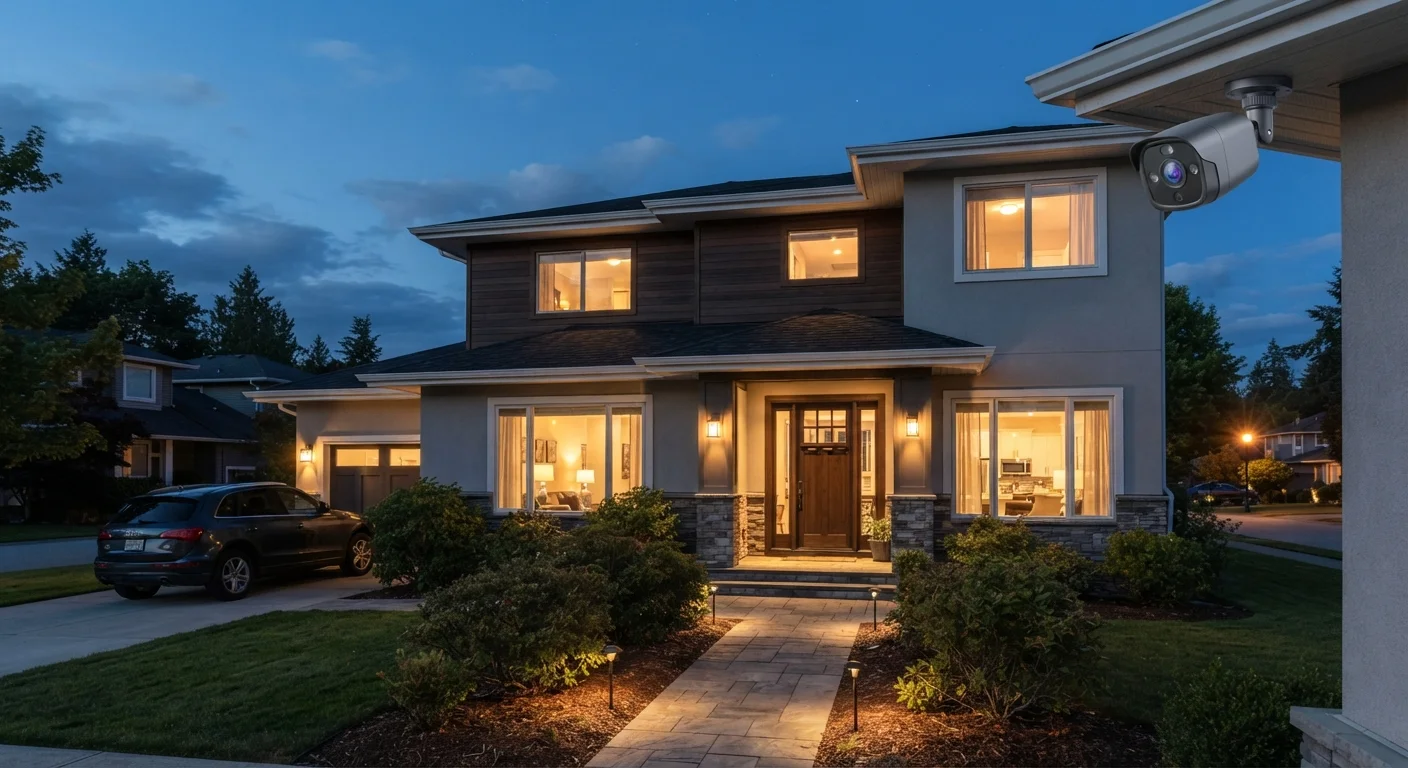
Photo credit: SnippetColumns.com | Easy Search, Reliable Information
In this article
Camera placement determines whether your system is genuinely useful or full of blind spots. These practices cover the principles of effective home camera coverage.
Key Takeaways
- Entry points — doors, windows, and garages — should be your first camera priorities, not the perimeter.
- Camera height between 8 and 10 feet balances facial capture with tamper resistance.
- Overlapping fields of view eliminate blind spots that single-camera setups almost always create.
- Indoor cameras need their own placement logic, separate from outdoor coverage strategy.
- Wi-Fi signal strength at the install location is as important as the camera's hardware specs.
Start With Entry Points, Not the Perimeter
Most people plan camera coverage from the outside in — imagining a wide perimeter view — when the most useful footage almost always comes from close-range entry-point coverage. The front door, back door, side gates, and ground-floor windows are where the vast majority of unauthorized entries occur. A camera that captures a wide view of the yard but misses the face of someone at your door is decorative, not functional.
Prioritize in this order: front door, back door, garage entry, and any secondary exterior access points. Once those are covered, extend outward to driveways and side yards. This sequencing means your first few cameras do the most useful work, and additional cameras genuinely expand coverage rather than duplicating it.
For a broader picture of how security cameras fit into the overall ecosystem of connected home devices, see the full landscape of smart home device categories.
Height, Angle, and the Facial-Capture Zone
Camera height is a trade-off between image usefulness and tamper resistance. Mount too low and a camera is easy to redirect or damage; mount too high and you capture mostly the tops of heads. A height of roughly 8 to 10 feet (about 2.5 to 3 meters) hits the practical middle ground — high enough to be inconvenient to tamper with, low enough to capture facial features at a usable angle.
Angle matters just as much as height. Cameras pointed straight down produce silhouettes; cameras angled too shallowly get washed out by backlighting or headlights. Aim for a roughly 15- to 45-degree downward tilt toward the focal area. For entry-point cameras, the goal is to capture someone's face as they approach, not after they've passed.
~34%
Burglaries that occur via front door
According to FBI crime data and security research summaries, roughly a third of home break-ins involve the front door — reinforcing entry-point camera priority.
8–10 ft
Optimal outdoor camera mount height
Security installation guides widely cite this range as the practical sweet spot for facial capture quality combined with tamper resistance.
Backlighting is one of the most common reasons camera footage is useless when it matters. Avoid mounting cameras where the primary light source — a street lamp, a rising or setting sun, an interior light — will be directly behind the subject. Where possible, orient cameras so that available light falls on the subject, not the lens.
Overlapping Coverage: Eliminating Blind Spots
A single camera covering a large area creates blind spots at its edges. Overlapping fields of view from two cameras aimed at a shared zone solve this — if someone moves out of one camera's frame, they enter another's. Think of camera pairs covering a single zone from opposite corners rather than each camera covering its own isolated slice.
Mount cameras at structural corners to maximize field of view overlap.
Corner placement naturally gives a camera sight lines in two directions simultaneously, reducing the number of cameras needed to cover a given area without blind spots.
Point cameras toward well-lit areas rather than into light sources.
Backlighting is the leading cause of unusable footage — it silhouettes subjects and washes out facial detail. Thoughtful orientation costs nothing and dramatically improves footage quality.
Use two cameras aimed at a shared zone rather than each covering isolated areas.
Single-camera zones always have edge blind spots. Overlapping coverage from opposite angles ensures continuous tracking as a subject moves through the space.
Test night-vision or IR performance at the actual install location before finalizing placement.
Infrared night vision has a limited effective range, and reflective surfaces like white walls or glass can create hotspots that wash out the image in low-light conditions.
Verify signal strength at every planned camera location before mounting hardware.
Connectivity problems are invisible until a camera fails at a critical moment. Catching weak signal spots in advance allows you to reposition cameras or add a network extender before installation is complete.
For driveways and larger outdoor areas, consider whether a wide-angle fixed camera or a camera with pan-tilt capability better serves your layout. Wide-angle lenses (often marketed at 130–160 degrees) cover more area but introduce distortion toward the edges; pan-tilt cameras offer flexibility but have no coverage while moving between positions. Neither is universally better — the right choice depends on your specific space.
Indoor Cameras: A Different Set of Rules
Indoor cameras serve a different purpose than outdoor ones — monitoring interior spaces, checking in on pets or family members, or adding a second layer if an exterior door is breached. The placement logic shifts accordingly. Coverage of main entry paths (hallways leading from exterior doors, staircases) is more useful than covering individual rooms.
Keep privacy in mind when positioning indoor cameras. Bedrooms and bathrooms should never be in a camera's field of view, and cameras pointed toward neighboring properties or public spaces can create legal complications that vary by location. For a thorough look at those considerations, see privacy trade-offs in always-on home devices.
Label Your Camera Zones Before You Mount
Sketch a simple overhead map of your property and label each zone you want covered before purchasing or mounting cameras. This reveals overlap gaps and prevents redundant coverage early, when adjustments are still easy. A rough hand-drawn diagram takes five minutes and can save significant rework.
If you're thinking about how smart cameras connect to a broader home system, it helps to first understand what 'smart home' actually means before expanding your setup.
Connectivity Is Part of Your Coverage Plan
A camera that loses its Wi-Fi connection during a critical moment is a gap in your coverage, regardless of where it's mounted. Before finalizing any camera location, verify that your Wi-Fi signal is reliably strong at that exact spot — not just adequate inside the house. Walls, building materials, and distance from your router all affect signal quality.
If your current network doesn't reach planned camera locations, address that first. Setting up a reliable smart home Wi-Fi network covers how to build a stable foundation before adding devices that depend on it. A well-placed camera on a weak signal will underperform a moderately placed camera on a strong one.

Author
Tech & Gadgets Editorial Team
Tech & Gadgets Editorial Team is the collective byline for our editorial team and contributor network. Articles published under this byline or an editorial pen name are researched, written, and reviewed according to our editorial standards for clarity, consistency, and independence before publication.
View all articles →